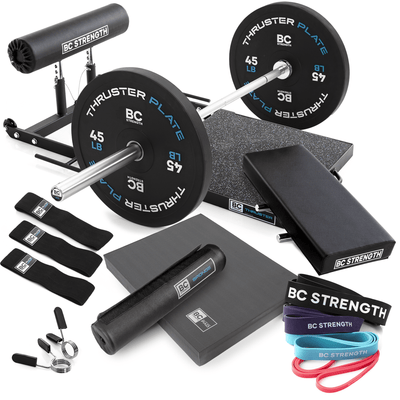
Please note that these assembly instructions are for the Thruster Lite v1 model, for products purchased prior to the 13th April 2020. There is no assembly required for Thruster Lite v2 models.
When assembling the thruster Lite please refer to the simple assembly instruction sheet found in the poly bag that also includes the adhesive backed non slip pads, BC Strength decal and optional felt feet.
All of the hardware included with the Thruster Lite unit is the same size to make assembly easier.
Music: bensound.comSTEP 1
Place the U shaped base pieces on a flat stable surface and assemble all hardware loosely as shown on the instruction sheet. All of the nuts supplied (11 pieces) with your unit are self locking. The blue color portion of each nut should face the outside of each bolt when assembled.
STEP 2
Once the unit is assembled loosely with all hardware in place, you will need to fully tighten all the hardware using 17mm sockets and/or 17mm wrenches. Tighten each piece of hardware until firmly seated. Over time you may want to check and retighten hardware. This is normal as the unit is designed to have some flex in the joint.
We do not recommend using a crescent wrench as this often does not fit the hardware tightly and can cause stripping of the hardware when tightening.
STEP 3
Once the unit is fully assembled and all hardware fully tightened you can apply the adhesive backed non slip and BC Strength decals as shown. You can wipe off the foot platform with a DRY cloth prior to apply the non slip and decal, but do not use a 409 type of cleaner prior as the solvent may impede the adhesive from bonding to the powder painted surface.
STEP 4
Insert the Back Rest Assembly.
